HDPE Geomembrane Installation Guide: Step-by-Step Process with Tips
Time:
Jul 09,2025
Proper installation of HDPE geomembrane is the key to ensuring long-term waterproofing performance and structural integrity in containment projects. From ponds and landfills to mining tailings and wastewater lagoons, the success of any project depends not just on material quality but also on precise and professional installation techniques. In this article, we’ll walk you through the full HDPE geomembrane installation process with clear steps and expert tips.
What You Need Before Installation
Before any HDPE liner touches the ground, make sure the following are in place:
A level and properly compacted subgrade
Geotextile protection layer if needed
Clean, dry weather conditions
Trained technicians and certified welding machines
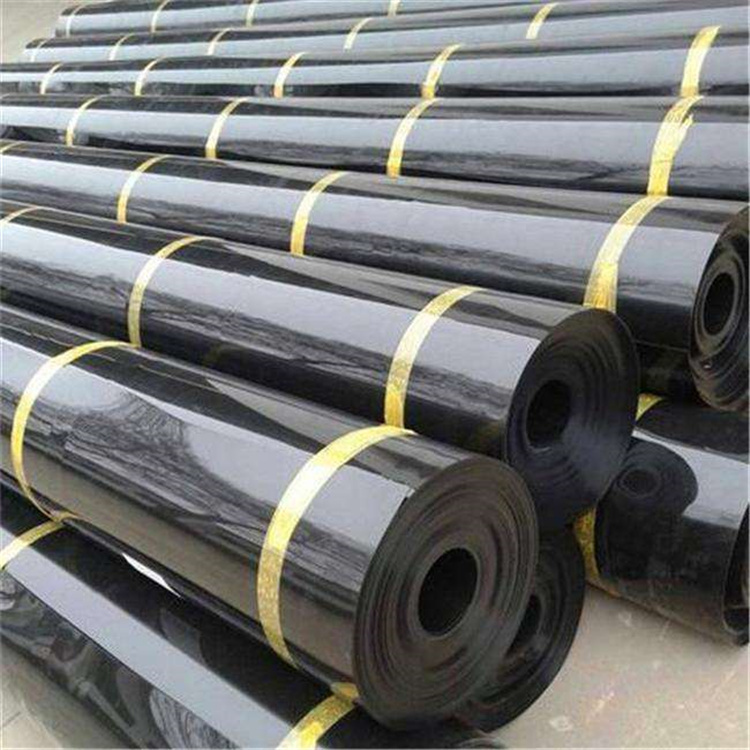
Quality-assured HDPE geomembrane rolls with identification markings
Step 1: Site Preparation
Start by clearing the entire installation area of sharp objects, rocks, vegetation, and debris. The ground should be leveled and compacted with a smooth finish. If the surface contains angular rocks or coarse materials, consider laying a geotextile layer underneath the geomembrane for added protection.
Step 2: Geomembrane Deployment
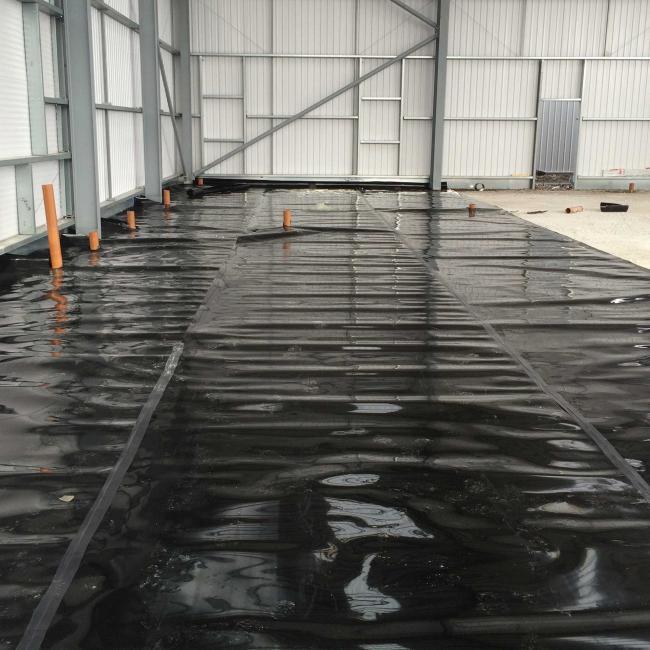
Unroll the HDPE geomembrane carefully across the surface. Position the panels according to the site layout plan, and ensure enough overlap (typically 10–15 cm) is left for welding. Avoid dragging the liner over rough surfaces, as this could cause abrasion or tearing.
Step 3: Panel Alignment and Tacking
Align adjacent panels neatly and allow the liner to relax and adapt to ground contours. In windy conditions, temporarily tack down the geomembrane using sandbags or weights to prevent lifting and misalignment.
Step 4: Welding and Seaming
Use a hot wedge welder or extrusion welder to join the seams between panels. Seams should be continuous and double-welded with an air channel in between to allow for non-destructive testing later. Make sure technicians check the temperature and pressure settings regularly during the welding process.
Step 5: Non-Destructive Testing of Welds
After seaming, perform air pressure testing or spark testing on the welded seams to detect any leaks or weak points. Any failed seams should be cut out and re-welded immediately. Keep a record of all test results for quality documentation.
Step 6: Anchorage and Edge Termination
Proper anchoring prevents the liner from slipping or moving over time. This is usually done by burying the liner edges in anchor trenches around the perimeter. The trench should be compacted after backfilling to lock the liner in place.
Step 7: Protection and Covering (Optional)
In high-traffic or exposed applications, install a protective geotextile layer or place soil cover over the geomembrane. For ponds or lagoons, filling the water after full QA testing helps press the liner into place and protect it from UV exposure.
Tips for Successful HDPE Geomembrane Installation
Only use trained and certified installation crews
Avoid installation during rain, snow, or strong wind
Store HDPE rolls under shade before use to reduce thermal stress
Keep welding equipment calibrated and clean
Monitor ambient temperature – HDPE behaves differently in hot or cold climates
Always conduct a trial weld and peel/shear test at the start of each shift
Common Installation Mistakes to Avoid
Skipping subgrade cleaning and compaction
Welding at improper temperatures or speeds
Failing to test seams properly
Leaving sharp stones beneath the liner
Not allowing for thermal expansion or contraction
Inadequate anchoring at the edges
Why Proper Installation Matters
Even the highest-quality HDPE geomembrane can fail if not installed correctly. Poor seam welding, unprepared subgrades, and improper anchoring are some of the most common causes of leaks and structural failures in lining systems. Investing in expert installation is a small cost compared to the risk of costly rework or environmental damage.
Need Expert Advice or Technical Support?
We provide full technical guidance, installation tools, and factory-trained technicians for international HDPE liner projects. Whether you’re lining a pond or sealing a landfill cell, our team ensures that your installation is done right the first time. Contact us today to request an installation manual, get a free quotation, or speak with our engineers.


